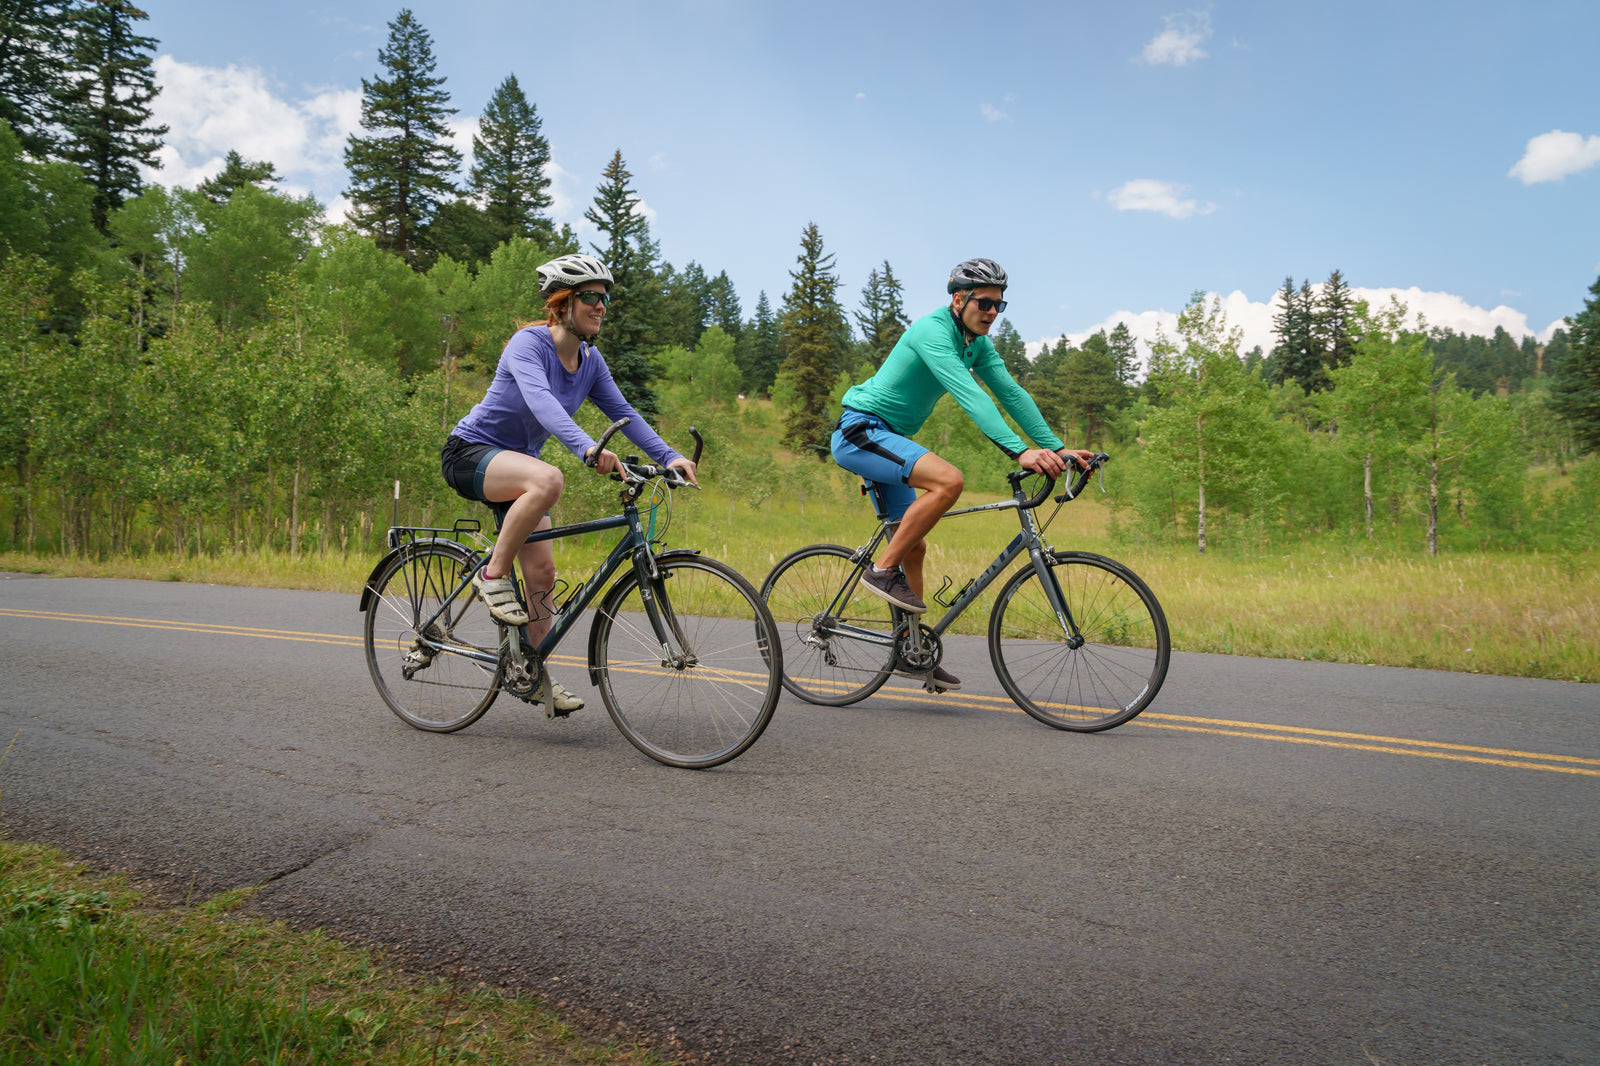
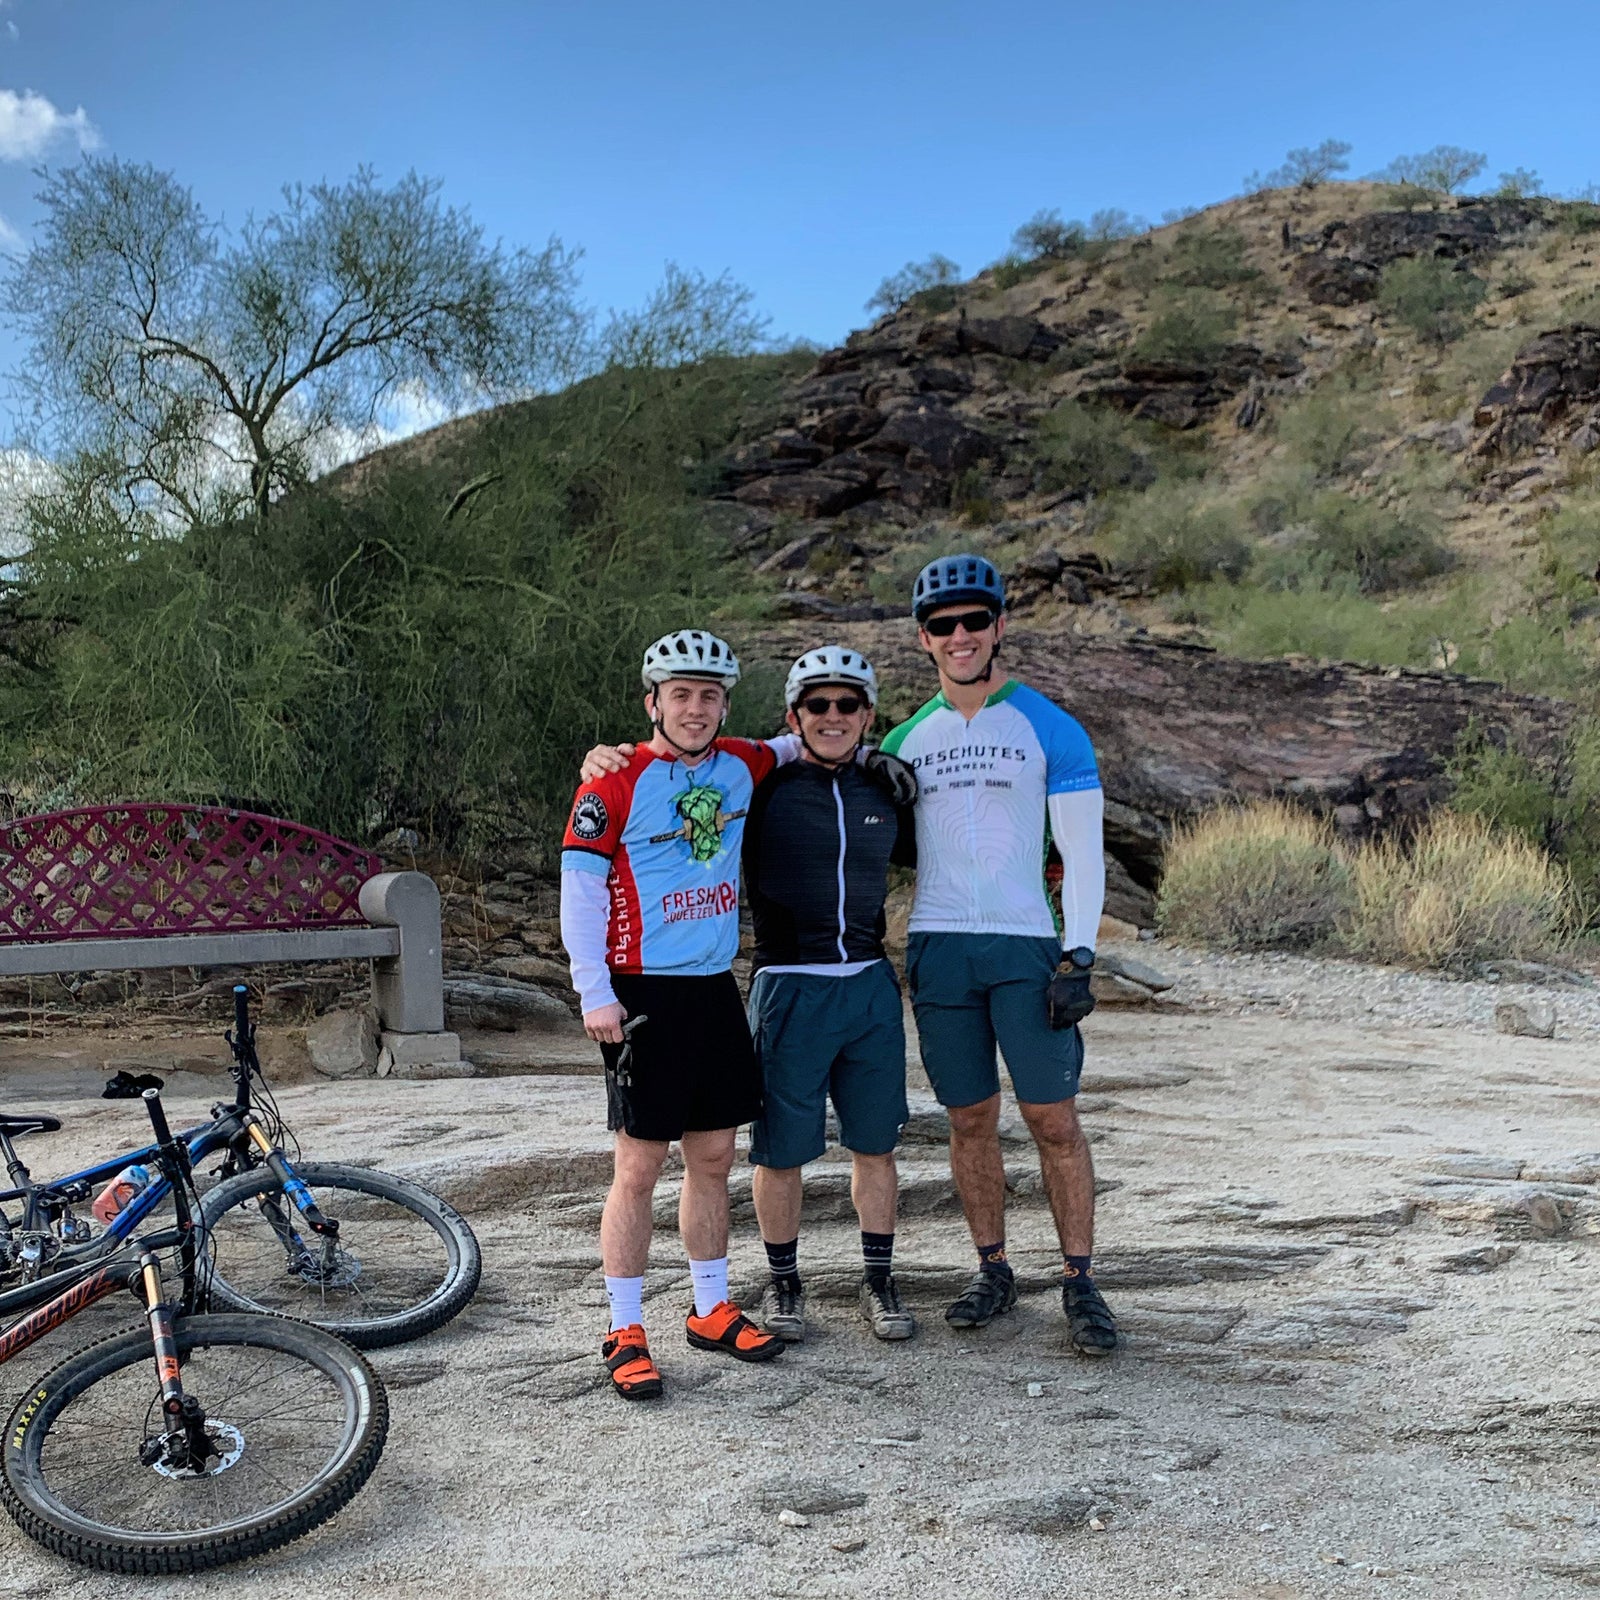
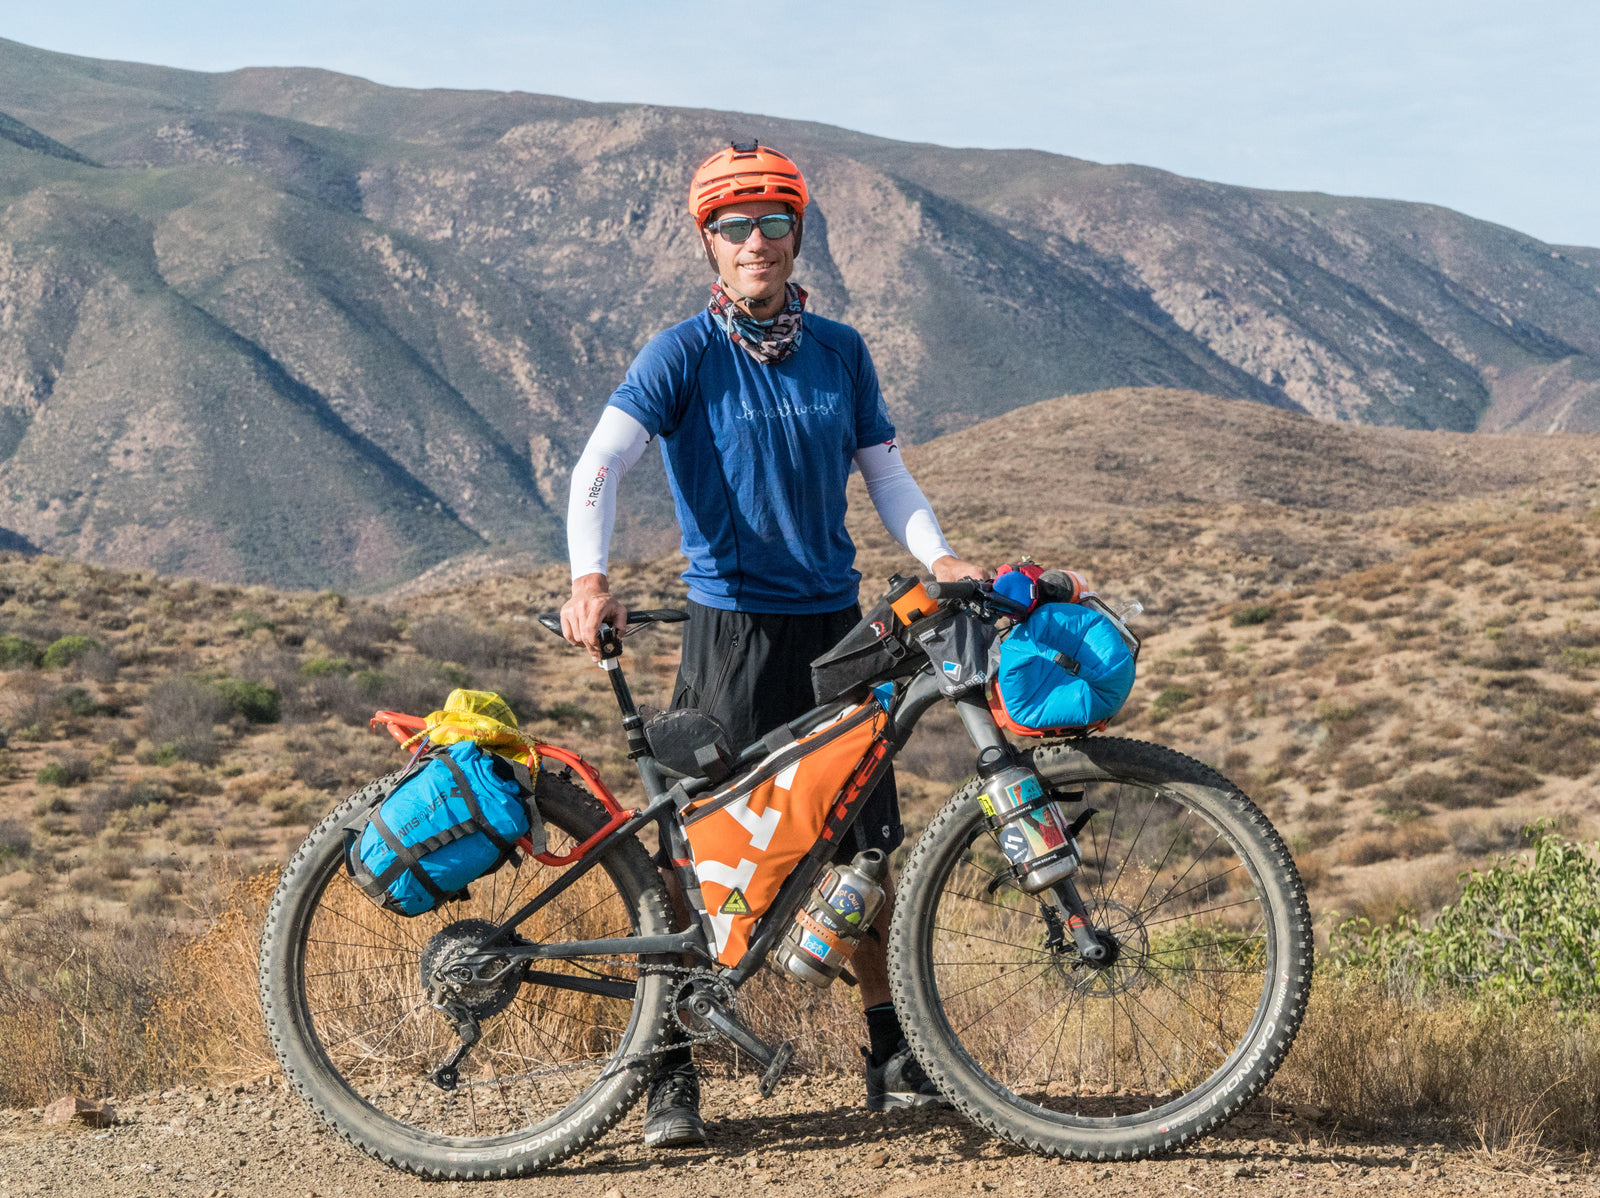
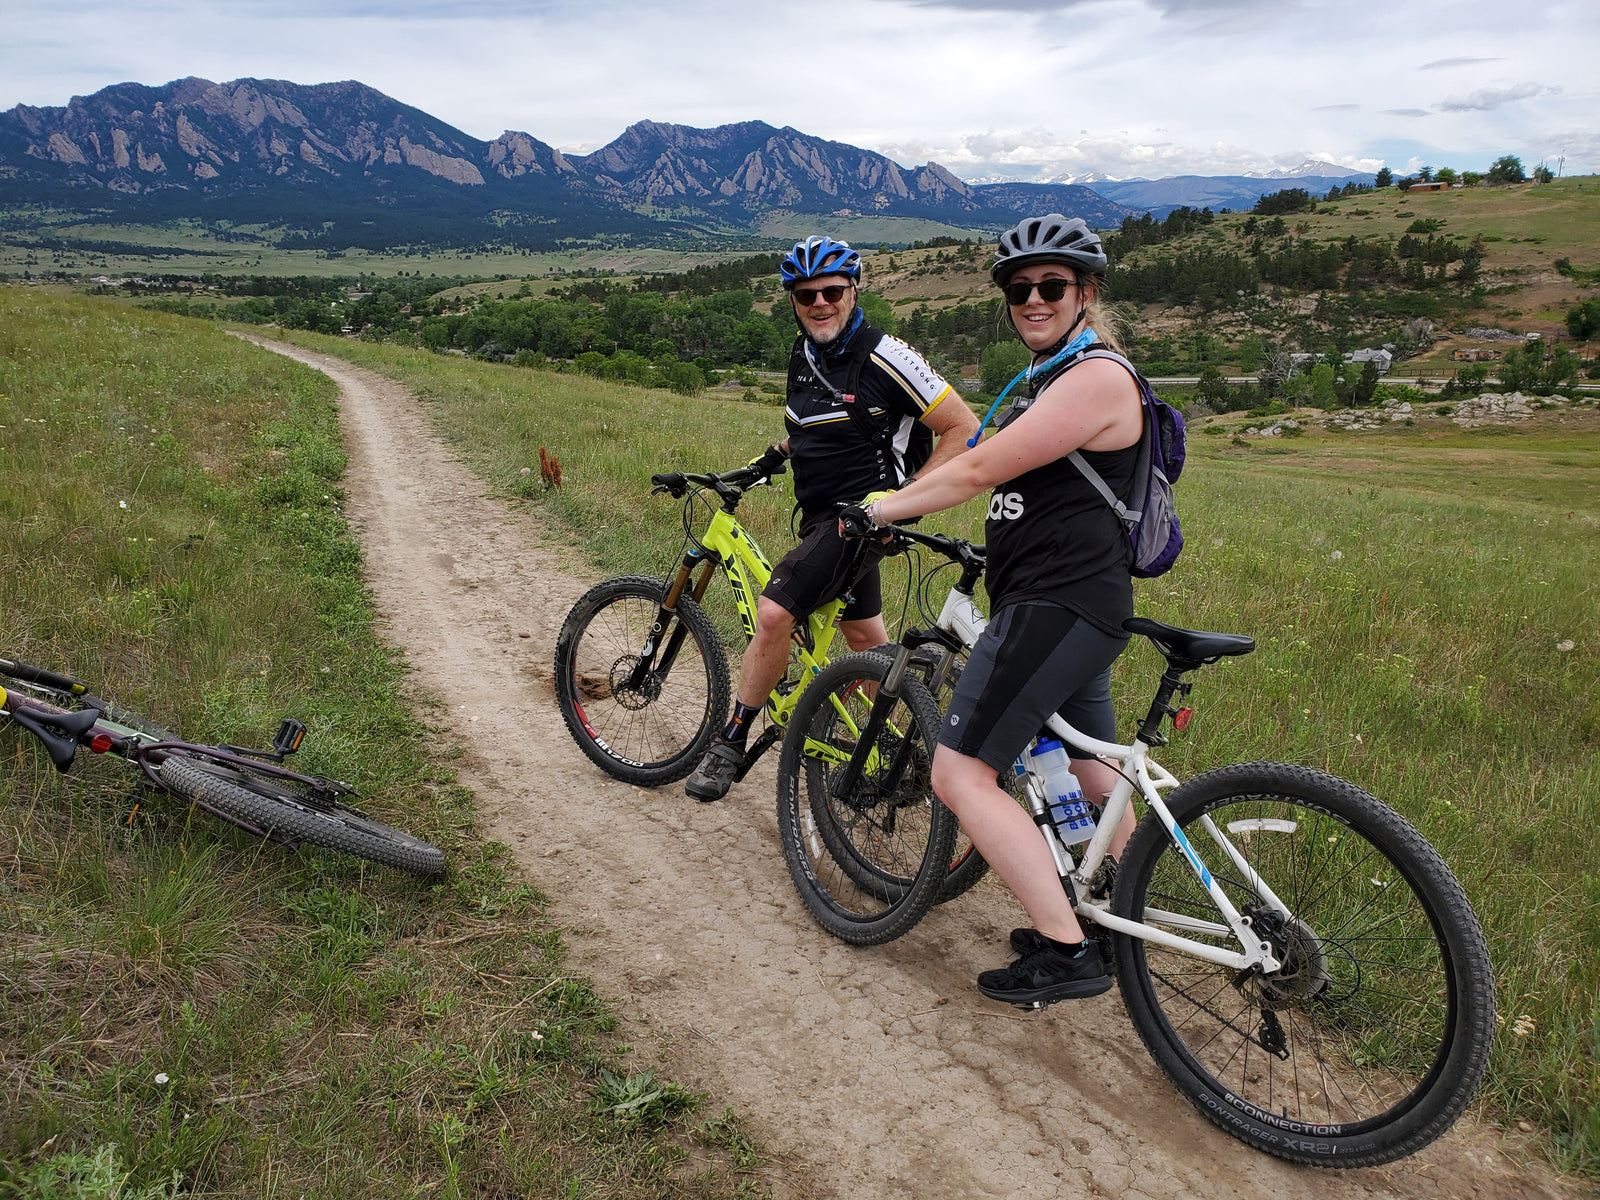
If the COVID-19 pandemic has prompted you to take up cycling over the last few months, you’re not alone. Bike sales have surged since the pandemic began to gather momentum in the U.S. in March. It makes sense: biking is a great cardio workout, firing up the legs, hips, and glutes. When it comes to the threat of infection from the COVID-19, getting on your bike is a lot safer than taking public transportation.
To support the surge in people cycling, many cities have swapped car lanes for expanded bike lanes. Not only that, but a reduction in traffic overall has improved air quality, so when you’re out for a ride - huffing and puffing - there are most likely fewer pollutants going into your lungs. Win-win!
So if you recently dug a bike out of the back of your garage you might be wondering, what next?
Beyond pedaling around your neighborhood, where are the best places to go for a ride? How long should beginner rides be? What kind of gear is essential, and what’s just nice to have?
We know there’s a lot to consider when getting started. Below we’ve compiled a list of the most important things you should know about, and some great resources to help make sure that getting back on the bike goes as smoothly as possible.
1. Bike Maintenance is Essential
First things first: if you purchased a used bike or unearthed an old one, your bike needs to be serviced before you go for your first ride and then regularly thereafter to keep it in smooth working condition. The last thing you want is to end up stranded or injured because your bike wasn’t in roadworthy condition.
Most bike shops offer “tune-ups” which include evaluating the condition of the bike to make sure it’s safe, minor maintenance and inspections, and checking to see if the wheels are true or any of the brake or derailleur cables need to be tightened.
If you’re keen to give the tune-up a go yourself,here’s a great article from Popular Mechanics on how to do just that. You’ll need to pick up a few tools to get the job done, like a floor pump to air up your tires, a brush set for cleaning, and a hex wrench set, to name a few. There’s a good chance you should have these anyway, and you will save yourself money in the long run (and peace of mind, knowing your bike is in good condition).
2. So You Got Yourself a (Road/Trailworthy) Bike, Now What?
The first thing to take a look at is your seat height. People often complain about experiencing knee pain during or after a ride, and a lot of that can be caused by having your seat too low. While you might feel more comfortable with your feet closer to the ground, you’re risking injury by under-extending your knee when you pedal.
Luckily it’s a simple fix. Just bump up your seat a bit!
To find the correct seat height, raise (or lower) your seat until your knee is slightly bent at the bottom of your pedal stroke. Then, grab a tape measure to determine the distance between the bottom bracket and the top of your seat. That will give you the seat height, which should be pretty much the same as your inseam multiplied by 0.883.

Once you’ve got the right seat height identified, take a short ride around the block and get comfortable coming to a stop by lifting yourself out of the saddle and leaning the bike slightly towards the foot you want to put down.
3. The Gear You Need, Versus the Gear You Don’t
Helmets Are Essential
After the purchase of a new bike, your next move should be to buy a new helmet. Contrary to popular belief, helmets actually have a shelf life. The outer shell can hide cracks in the foam, so this is one thing you don’t want to be shopping for on Craigslist.

Likewise, if you find an old helmet in the garage somewhere, give it a good once over. Make sure the shell isn’t too faded (indicating UV damage), the chin straps still work, and the dial at the back secures the helmet to your head.
When shopping for a helmet, comfort is critical. If it doesn’t fit comfortably, you won’t want to wear it. All helmets meet the same standard for impact protection, so many of the other things you’ll want to consider are personal preference, like color, ventilation, and whether or not to get a helmet that matches your style of riding: mountain biking, road riding, or recreational for casual commuting.
Avoid Chafing, Sore Sit Bones with A Pair of Padded Shorts
Now let’s talk about cycling clothing. Seasoned cyclists know that one of the most important pieces of clothing is the chamois liner - essentially a padded bike short. Padding comes in a variety of thicknesses, and different shapes for men and women. A chamois liner is essential for minimizing pressure and friction in the “crotchal region.”
If this is your first significant bike ride, we highly recommend checking out ourLiberator Liner, which is lightly padded - perfect for short to medium rides. The liner fits well underneath most shorts, so you can be comfortable without succumbing to the spandex cycling look. And if you’re after a super breathable, stretchy pair of shorts to go over the top, check out our best-sellingUprisings. We definitely recommend shorts with pockets (the Uprising has two, with zippers) for things like your phone, a map, and a snack.

Water Bottles: Another Non-negotiable
Another non-negotiable piece of cycling kit is a water bottle. Especially in the height of summer, you don’t want to be leaving the house without water. Cycling water bottles come in different sizes, but when it comes to the liquid life depends on, more is always better. You may well have a water bottle lying around that you can use, but make sure it’s a push/pull cap so that you can easily open it and drink while pedaling.

At least initially, a helmet, shorts, and a water bottle will be sufficient for brief rides. As you gain strength and endurance, you might want to consider expanding your cycling gear to include things like:
- A cycling-specific jersey. Cycling jerseys are form-fitted to be aerodynamic and made from a lightweight, breathable and sweat-wicking fabric. They also come with pockets - and who doesn’t need more pockets?!
- Cycling shoes. Depending on the type of biking you prefer, there are different options when it comes to shoes. Many road cyclists prefer to be “clipped in” to the pedals. This allows you to pull up on the pedal with similar velocity as when you push down, meaning you can go faster. You’ll need specialized pedals and shoes if this interests you. Many mountain bikers, on the other hand, opt for a flat-bottomed shoe with a high-friction tread that sticks to the pedals.
- A lightweight jacket. In many places, the weather can change in a heartbeat. If you’re a long way from home when a storm rolls in, having a jacket can be the difference between calling for a ride and pedaling home. Many cycling jackets pack down very small and will fit in the pocket of your jersey.
There’s no doubt that getting yourself geared up for that first ride takes a bit of investment, but once you’ve got the basics covered, the world is your oyster. It doesn’t cost anything to get out and ride.
4. Choosing the Right Distance and Routes
The best advice is simple: pace yourself. This applies to both speed and distance. Try to keep a steady, even pedaling cadence to start out with. This is your foundation, you can play with tempo later.
When it comes to distance, start with low mileage and gradually work up to longer rides. One nice way of doing this is to add a bonus loop onto a ride when you’re feeling good. Just a little bite-sized extra bit of mileage is way more manageable since you’ve already covered the majority of the distance and know you’ve got an extra couple miles in your legs.
Certain routes are certainly easier than others - or even the same route, in the opposite direction. Locally based, virtual cycling groups can be a great resource for getting advice on good routes for beginners. You can use free apps like Strava to map out your route in advance so that you can see distance and elevation before hopping on the bike. Strava also has aheatmap, which shows you the most popular cycling routes near you.

When you’re just starting out, expect to hit some literal and figurative highs and lows, especially during longer rides. Not only is your body adjusting to a new form of exercise, but so is your mind. There’s a lot to learn about yourself and your relationship with your bike, and you’ll make some mistakes. More than just wrong turns, it’s easy to underestimate your hydration or nutritional requirements and experience a sharp drop in energy that cyclists call “bonking.” Just be aware that this is normal (and always bring more snacks than you think you’ll need!).
Once you begin to feel comfortable going out for about an hour, two to three times a week, it’s time to add some more mileage, or choose a more challenging route (but not both at once!).
5. Always Prepare for the Unexpected
There are a lot of variables at play when you’re on the bike: your fitness level, the weather, the condition of the bike, and the actions of everyone around you. There are things you can control, like keeping your bike well-maintained to avoid a mechanical failure, or carefully mapping out your route so you don’t get lost.
But there’s a lot more you can’t control, like a rapid change in weather or the unexpected behavior from another cyclist or a car. All this means that it’s best to have a “Plan B” and be ready for anything.
Here are a few ways you can prepare for the unexpected:
- If you live someplace where weather is variable, make sure you double-check the forecast before you leave. If there’s a chance of a storm, stay closer to home, and make sure to bring a rain jacket.
- Always take cash or a credit card. If you run out of food or water and need to make a stop, you can.
- Before tackling a new route, take a look at a few different maps. Topographic and open street maps are super helpful for getting a better lay of the land. If you have an app or fitness tracker that allows you to load your route and follow it - that’s even better.
- For longer or remote rides, try to find a buddy. Not only is it more fun to have company on a ride, but it’s safer. If one of you runs out of water, the other person can lend some. If one of you takes a tumble off the bike or has a mechanical failure, there’s someone there to help.
- If you don’t have a buddy, consider an app likeStrava’s Beacon, which shares your location with friends and family in real-time. This makes it easy for them to find you if things don’t go to plan.
- Use a small saddle bag to hold essentials for fixing a flat tire: tire levers, a correctly-sized spare tube, and an inflation device like a mini pump. A patch kit may also come in handy.
By their very nature, unforeseen problems generally aren’t preventable. That said, being prepared when it comes to some of the more common issues cyclists face makes you more self-sufficient, and reduces your chances of needing to be bailed out.
6. Nutrition and Hydration are Critical
“Thousands have lived without love, not one without water.” - H. Auden
There are two surefire ways to kill the fun when out exploring on your bike. One is running out of water, and the other is running out of food. Depending on where you’re riding, you might be able to stop at a gas station and grab a snack and a drink, but it’s best to have your own reserves.
Whether you’re cranking up hills or just pedaling around the neighborhood, you’re virtually guaranteed to break a sweat. And that’s a good thing: it detoxifies your body, keeps your heart healthy, keeps you cool. As a general rule, you should try to drink enough water to match the intensity of your effort. For reference, it’s recommended that a 150lb cyclist drink one 16-ounce bottle of water per hour when temps are cool, and up to four bottles per hour in intense heat.
On hot days, it can be difficult to keep up with your body’s hydration requirements. In this case, it’s helpful to start hydrating before you ride by drinking at least 12 ounces of water two hours before you head out.
When you sweat, you’re losing more than just water - salts and essential minerals are also being expelled. If you plan to be out for over an hour, consider adding some electrolytes to your water as well, like Tailwind Nutrition or Nuun Hydration.
“Exercise is king. Nutrition is queen. Put them together and you've got a kingdom.” - Jack Lalanne
The same way you sweat out water and need to replace it, you expend energy when exercising and need to refuel. Water can’t transport the nutrients needed to give you energy unless you are consuming them. It is quite common to misjudge your food requirements on a ride, and experience what cyclists commonly refer to as “bonking.”

When you bonk, you’ve allowed your body to run out of energy, the way a car might run out of gas. With your nutrition stores depleted, all pleasure disappears from the ride and you feel unable to go any further. To avoid getting stranded somewhere with no energy to pedal home, make sure you take plenty of high-quality calories along on your ride.
To keep things lightweight, most cyclists prefer bars (like Cliff, Bobos, or Luna) or energy gels (GU, Cliff Shot, Honey Stinger, etc). You definitely get a lot of calories for the weight with these options, but it can also be really nice to have a peanut butter sandwich or a wrap along with you, for a more substantial lunch.
The right combination of exercise and nutrition is very personal, and it takes a lot of experimentation to find out what works for you. If you’re just getting started, don’t be afraid to cast the net wide and try lots of different brands/types of food in order to find out what works best for you.
7. Bike Safety is Paramount
With the number of cyclists on roads and trails rising dramatically, it may be tempting to assume there’s safety in numbers and neglect to take adequate precautions. This would be a mistake. Hundreds of people die in fatal cycling accidents in the United States every year. Employing a few basic safe cycling techniques dramatically reduces the chances of an accident happening to you.
For starters, it’s important to signal which way you are going when you come to an intersection or need to make a turn. This tells both cars, pedestrians, and other cyclists to yield (where appropriate) and to adjust their behavior accordingly. If you’re turning left, stick your left arm straight out and point to the left. Similarly, if you’re turning right, stick your right arm straight out to the right. To stop, drop your left arm down at a 90-degree angle, with the palm open.
If you’re heading out in the early morning or evening, make sure you take lights with you for both the front and back of your bike. Use a red blinking light for your taillight, and a high-powered white beam for your headlight.Cat Eye is a popular and reliable brand. Also, consider wearing light-colored or reflective clothing. The goal is to be visible - so avoid black when possible.
Final Thoughts
Normally, local bike shops host weekly group rides that are open to all levels of cyclists. Though many of these aren’t currently taking place, it’s good to be aware that they exist and perhaps contact your local bike shop to find out when they might resume. Online communities or forums like Reddit are also great resources as you begin your biking journey.
It may seem like there’s a lot to remember when taking up cycling for the first time. In reality, once you have the appropriate gear and have gone out for a few short rides, things begin to fall into place. It won’t be long before you’re heading out for hours at a time, and falling in love with the freedom and joy bikes bring.


Leave a comment (all fields required)